How our wooden Signs are made
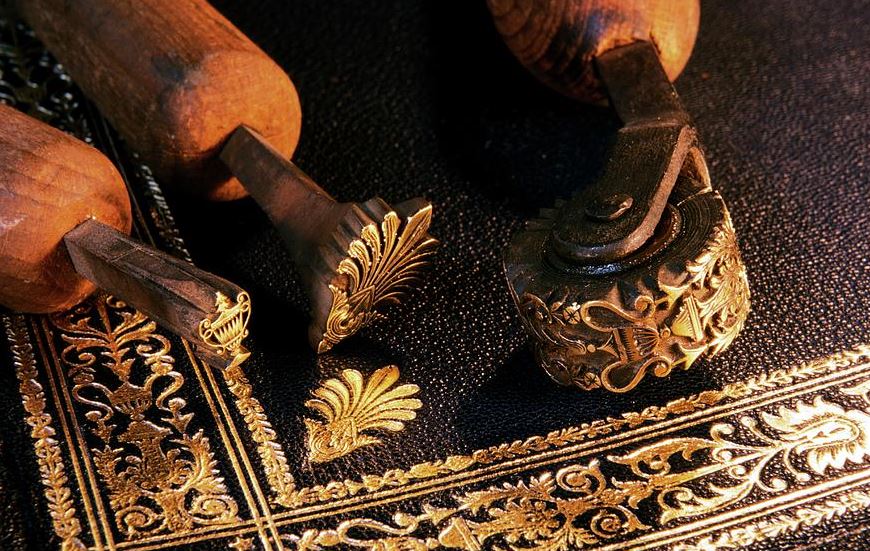
Wooden signs etched in gold stand out when the sun or light shines on it. Gold’s allure to human beings is irresistible from ancient times to date. If you are an art lover, buyer, or enjoy paintings, architecture edifices, portraits, and statutes gilded with gold, pay attention as we define gold guiding, explain carving methods, and gold gilding for signs.
What is Gold Gilding?
Gold gilding is the applying gold to wood, metal, glass, or ceramic. It also involves applying copper or metals that are like gold-silver coating and covered with yellow varnish. Gold leaf, water, and gilding paste are used for gilding wood.
Carving methods
The different wood carving methods include chip, relief, whittling, and chainsaws. To prepare wooden signage get the materials you need to cut the wood. They are short-bladed knives, chisels, and gouge, and select wood—pine, basswood, or aspen. Protect your eyes with a pair of safety glasses.
Confirm that the wood is suitable for the design you want to carve. Choose the words and font of the letters and get a computer printout of the letters.
Place a carbon paper between the wood board and the letters. Secure the letters on the wood then trace the letter on the wood using a carving knife and carve out the pattern on the wood board.
Steps for gold gilding for signs
You can use technology to create gilded signs on cars, and signage. Below is a hand-guided method for creating striking signs on wood.
Choosing the materials
They include dense sign foam or mahogany wood. Next, choose the Gold leaf which can be either 22k or 23k gold. Original Gold leaf includes XX deep, patent, moon, and ribbon gold.
Sealing The surface
Confirm the gold leaf materials, carved letters in the sign foam. Use spray primers to seal the places on wood you will apply the gold leaf with 3 coats of oil paints. Wait for 3 days for the paint to dry.
Sizing the Surface
There is water and oil-based sizes. Oil based sizes dry 8–12 hours and are faster to work with.
Water sizing is preferred for huge jobs, and you can use activators at your own pace. Note how deep the letters are and their angles. The challenge is timing as the slow sizing dries in three days.
Apply the gold leaf
Confirm the size is dry then apply the cut-thin strips of gold leaf to the letters. Hold the paper and put the gold leaf on the size then rub the back of the paper to transfer it to the sizing. Finally, polish the gold with a velvet cloth to make it shine. Polish vertically and horizontally.